The True Cost of Dental Implants: What You Need to Know
Investing in Your Smile: Why Dental Implants Are Worth It
Tooth loss affects more than just your smile and appearance—it can interfere with eating, speaking, your dental health and overall long-term health. If your dentist has recommended dental implants, it’s natural to have questions about the cost. While it’s true that implants require an upfront initial investment, they offer unmatched long-term benefits. A dental implant is more than just a tooth replacement; it’s a long-term solution that protects your jawbone and preserves your facial esthetics.
What Determines the Cost of Dental Implants?
The cost of dental implants varies based on several factors, including:
- Number of Implants Needed: Replacing a single tooth costs less than a full-arch restoration.
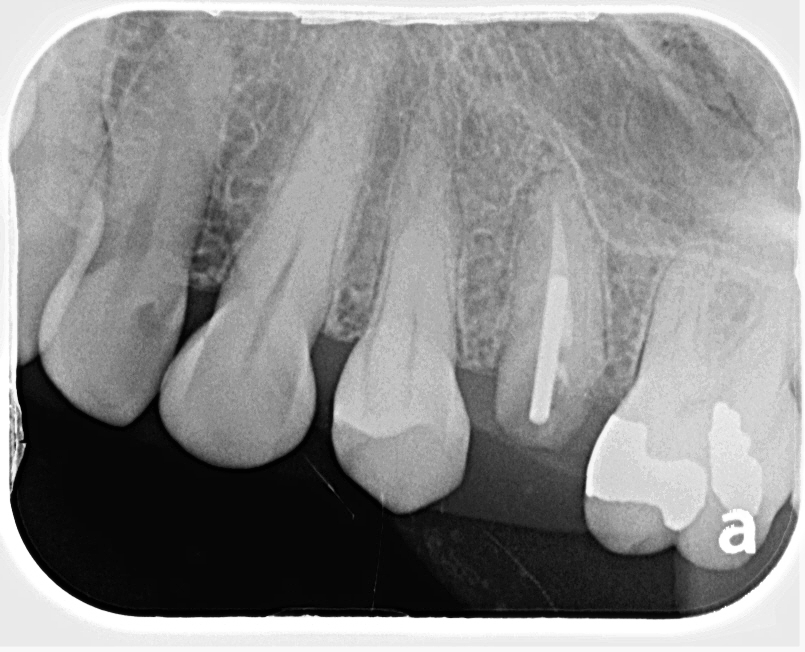
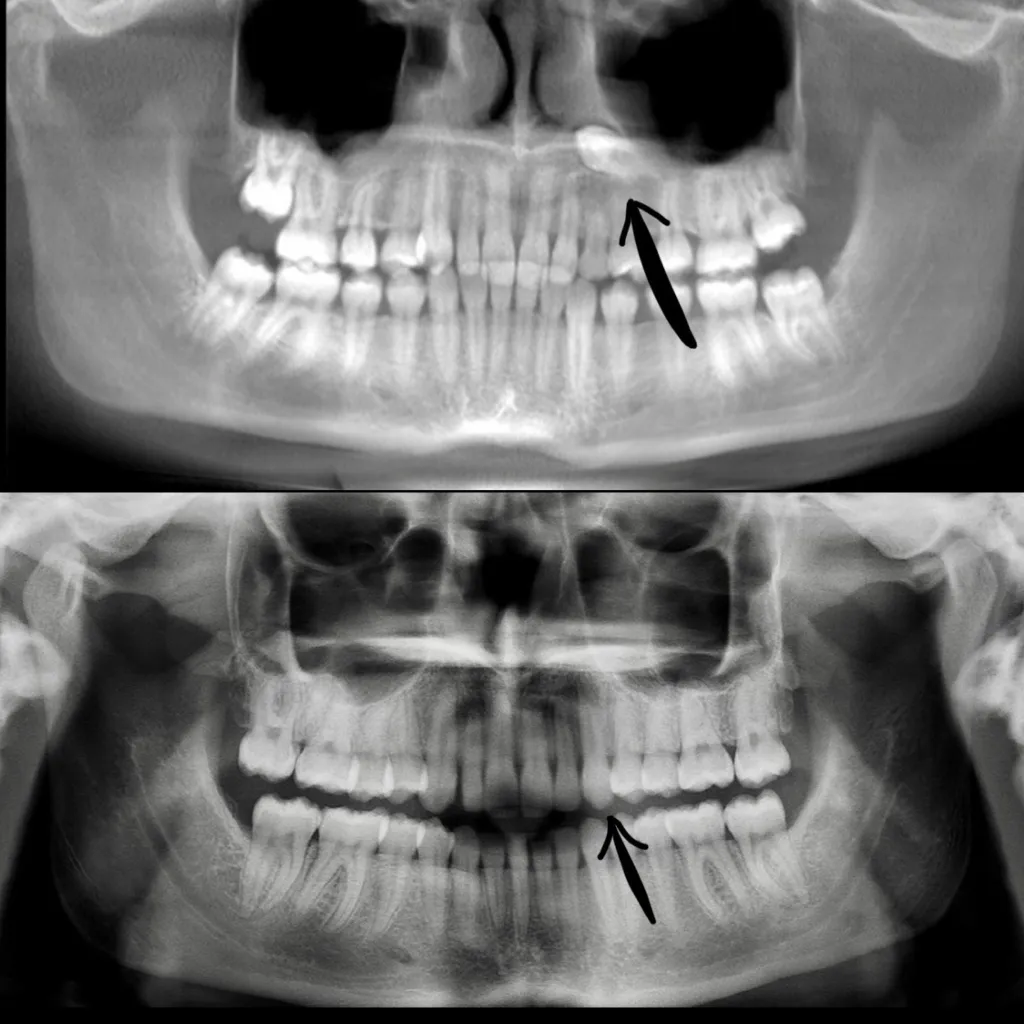
- Tooth Location: The position and angle of the missing tooth can influence surgical complexity.
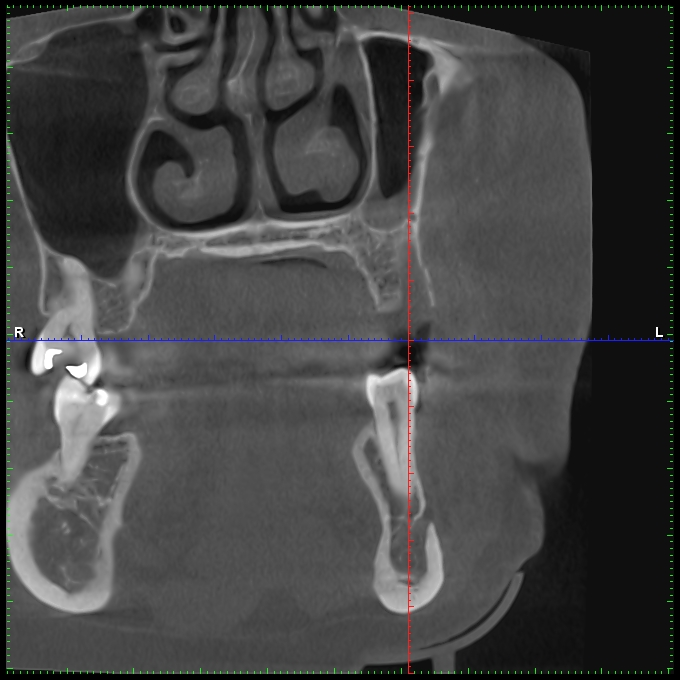
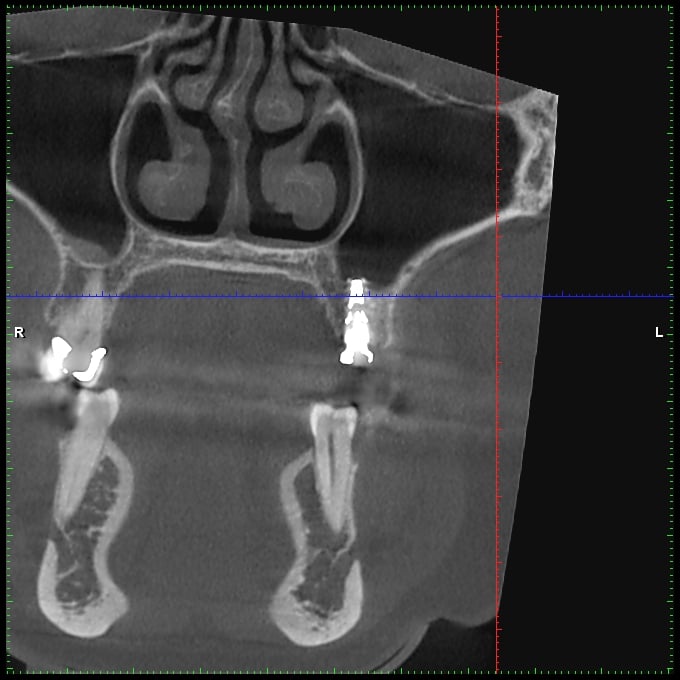
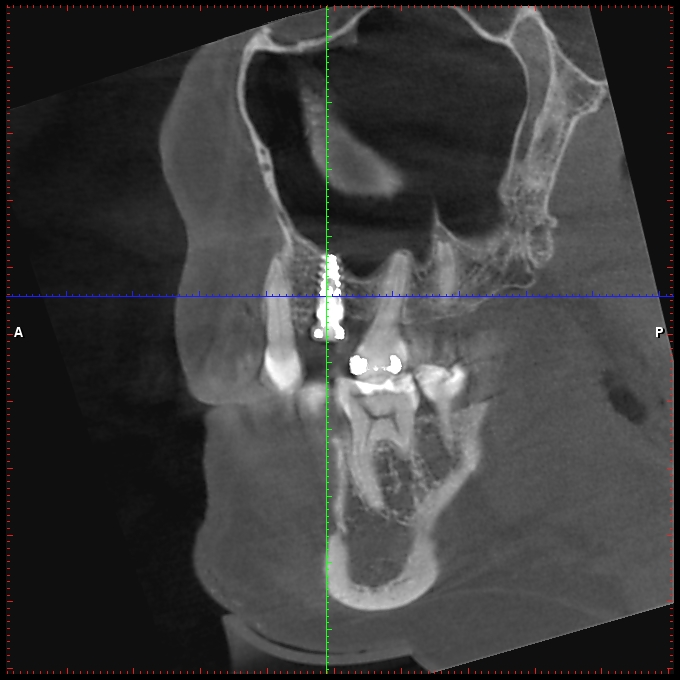
- Bone Density: If bone grafting is required to prepare your jawbone for dental implants, it adds to the cost.
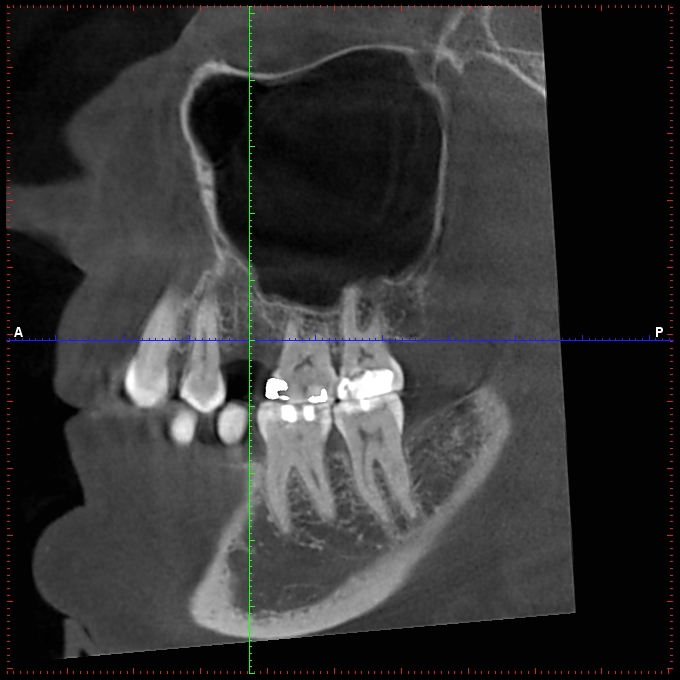
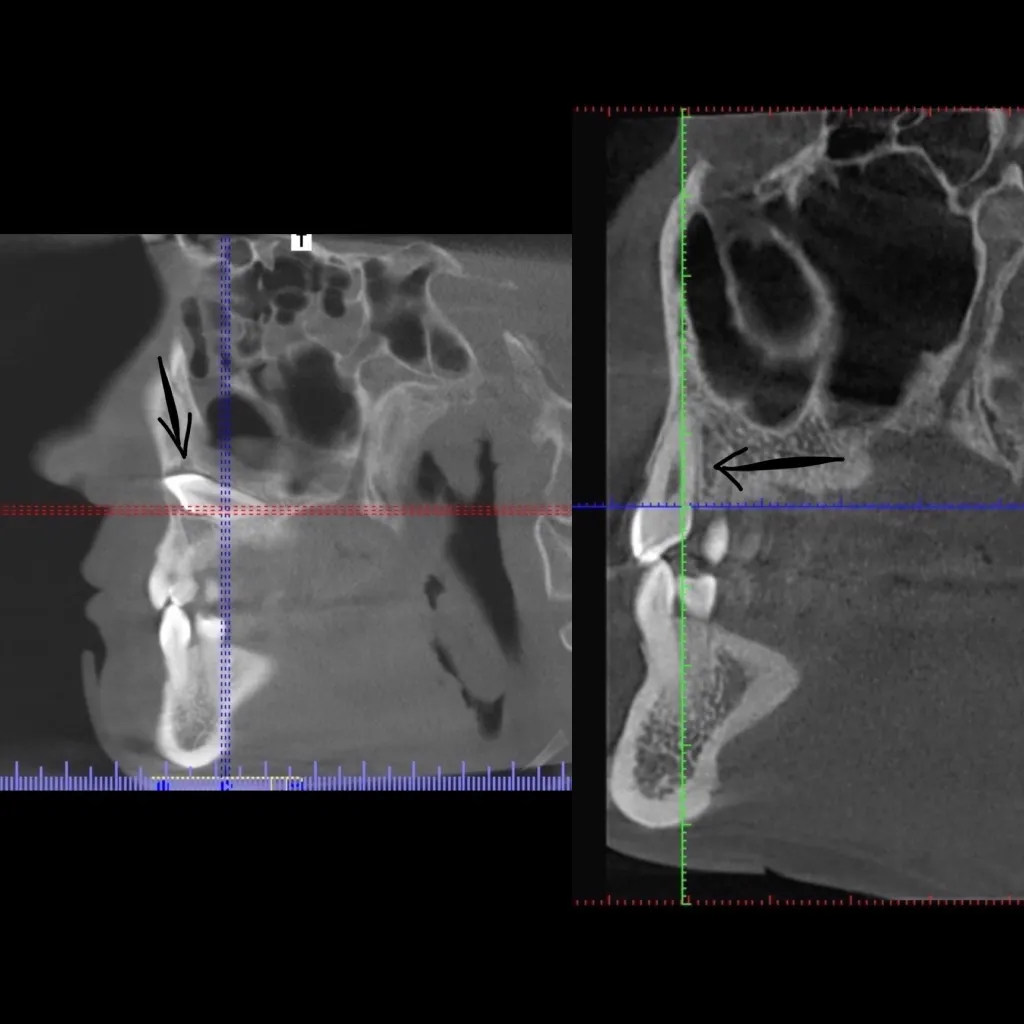
- Additional Procedures: Extractions, periodontal treatments, or sinus lifts are all related services that can impact pricing.
- Type of Implant & Crown: Material quality and the design customization of your dental prosthesis affect the overall expense.
- Experience of the Surgeon: Highly skilled specialists may charge more for their expertise.
- Sedation or Anesthesia: The level of anesthesia or sedation you choose for your comfort influences the final price.
- Follow-Up Care: Post-operative visits and necessary adjustments can contribute to the total cost.
Additional Costs: Bone Grafting & Sinus Lifts
For patients with insufficient bone density, preparatory procedures like bone grafting or sinus lifts may be necessary to create a stable foundation for implants. Ensuring a strong jawbone before implant placement is key to long-term success. A bone graft may add to the upfront cost, but it significantly improves the implant’s longevity.
How Much Do Dental Implants Cost?
While costs vary, here’s a general breakdown:
- Single tooth implant: $1,500–$6,000
- Full-arch dental implants: $25,000–$30,000 per arch
- Full-mouth implants: $30,000–$60,000+
Costs depend on a variety of factors as highlighted above, including case complexity, materials used, and additional procedures required.
Are Dental Implants More Affordable Than Other Options?
Although implants may seem costly upfront, they often save money in the long run:
- Longevity: Implants can last a lifetime, while bridges and dentures often require replacement.
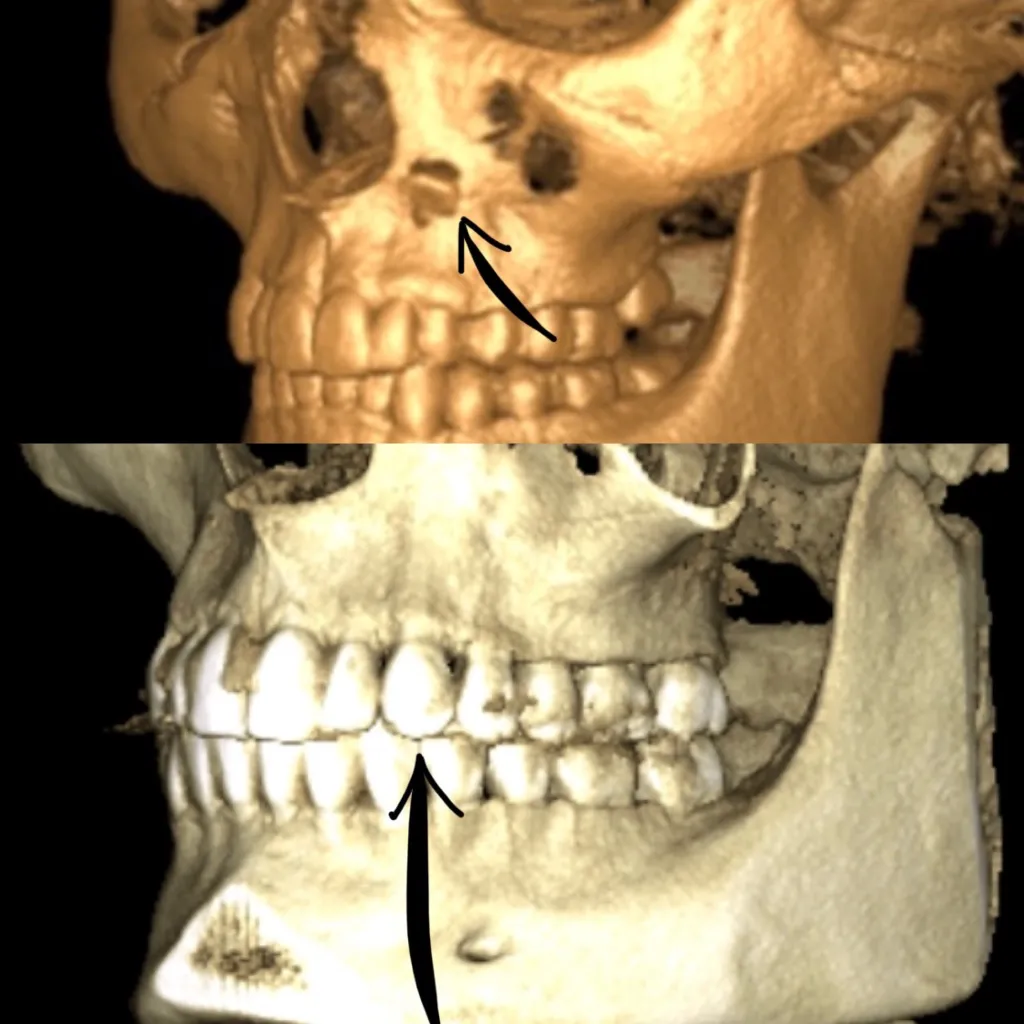
- Jawbone Preservation: Unlike dentures, implants preserve bone volume, which can help to prevent facial profile changes.
- Oral Health Benefits: Implants don’t compromise adjacent healthy teeth like bridges can.
- Improved Functionality: Enjoy eating and speaking without discomfort or slipping dentures.
Financing and Insurance Coverage for Dental Implants
Many patients are surprised to learn there are ways to make implants more affordable:
- Dental Insurance: Some plans now cover part of the procedure—check with your provider.
- Health Savings Accounts (HSA) & Flexible Spending Accounts (FSA): These tax-free savings options can help offset costs.
- Payment Plans & Financing: Many oral surgery practices offer low-interest or extended payment plans.
Why Choose an Oral Surgeon for Dental Implants?
Oral and maxillofacial surgeons have advanced training in implant placement, bone grafting, and complex oral surgical procedures. Their expertise ensures optimal results and long-term success.
If you’re considering dental implants, schedule a consultation with our team at Advanced Oral and Facial Surgery of the Triad. We’ll guide you through the process, answer your questions, and help you achieve a smile that lasts a lifetime.